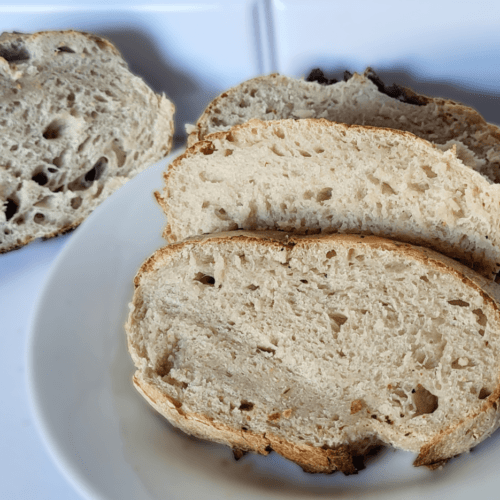
Air Fryer Sourdough Bread Recipe
Crispy, chewy, tangy and delicious, this small batch air fryer sourdough bread is straightforward and perfect for beginners.
Equipment
- Air Fryer
- Kitchen scale
- Mixing bowl
- Small bowl
- Cotton cloth or tea towel
- Parchment paper
- Plastic wrap
- Tongs for flipping the bread (optional)
Ingredients
- 235 grams bread flour
- 45 grams active sourdough starter
- 150 grams filtered water
- 5 grams salt
- Olive oil or non-stick cooking spray (for greasing)
- Rice flour or all purpose flour (for dusting)
Instructions
Feeding the Starter
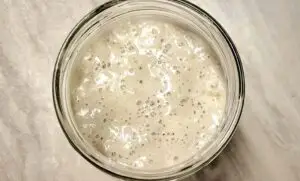
- If you already have a sourdough starter, feed it several hours before you start baking to ensure it is active and bubbly. This can take anywhere from 4 to 12 hours, depending on the temperature of your home.
Creating a Starter from Scratch
- If you need to make a sourdough starter from scratch, it can take about 5 to 10 days of daily feeding for the starter to become strong enough to use in baking. See post about creating a starter from scratch.
Mix the Dough
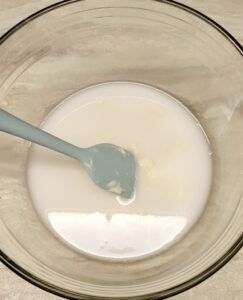
- In a mixing bowl, combine the active sourdough starter, filtered water, and salt. Give it a little mix, but don’t worry about it not being fully incorporated yet.
- Add the bread flour to the bowl, and stir continuously to form a tacky dough. Lightly knead the dough with your hands until it comes together. Note, certain brands of flour absorb water differently, so if you feel the dough is too dry, add about a teaspoon of water at a time. If it sticks too much to your hands, add a teaspoon of flour at a time.
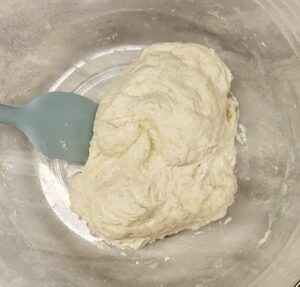
- Cover the bowl with plastic wrap and let the dough rest for 20 minutes. This allows the flour to absorb the water.
Stretch and Folds
- Grab one edge of the dough and pull it upwards to let it stretch out. Bring the stretched part of the dough to the center. Grab the opposite side of the bread and do the same: stretch upwards and bring it to the middle. Do this again with the other two sides of the dough (to complete 4 stretches).
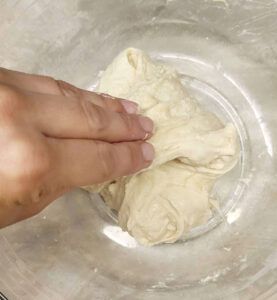
- 20 minutes later, repeat: 4 stretches.
- 20 minutes later, repeat one last time: 4 stretches.
Bulk Fermentation
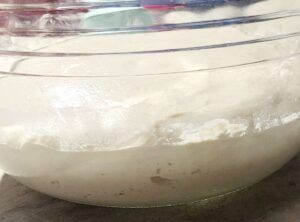
- Leave the dough in the mixing bowl and cover it with plastic wrap. Let it rest at room temperature for 6-12 hours to bulk ferment. During this time, it will grow in size. The final timing will depend on the temperature in your home; It’ll rise faster in warmer temperatures, and take longer to rise in colder temperatures. You'll know bulk fermentation is complete when you see that: it definitely grew in size, the top surface of the dough has a domed shape, bubbles appear under the top surface of the dough, and the dough jiggles or wobbles when you gently shake the bowl.
Shape the Dough
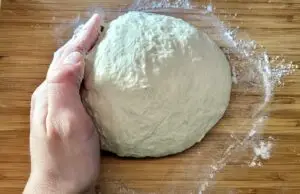
- Once the first bulk fermentation is complete, remove the dough from the bowl and place it on a clean and lightly floured counter surface. Do one stretch and fold, and then form it into a ball by turning (or spinning) it a few times on the counter. This creates tension and gives it a round shape once baked.
Optional Second Cold Fermentation (see post for more details and cool facts about this recommended step)
- Line a small/medium sized bowl with a thin cotton cloth or tea towel, and dust it very well with rice flour (or all purpose flour if you don’t have rice flour).
- Place dough on top of the tea towel and cover with plastic wrap.
- Transfer the bowl to the refrigerator overnight, or for 12-18 hours.
If NOT Doing a Second Cold Fermentation
- Line a small/medium sized bowl with a thin cotton cloth or tea towel, and dust it very well with rice flour (or all purpose flour if you don’t have rice flour).
- Place the shaped dough on top of the tea towel and cover it with plastic wrap.
- Leave it out on your counter for another 2-4 hours, or until you see it rise again. Remember, the rise time depends on the temperature in your home.
Prepare for Baking
- Preheat the air fryer to 400°F (205°C).
- Cut enough parchment paper to line your air fryer pan (make sure to leave the parchment paper out of the air fryer while it preheats). Grease parchment with cooking spray or oil.
- Score the top of the dough with a razor or sharp knife to allow for controlled expansion.
- Place the dough on top of the parchment.
- Once the air fryer is preheated, carefully transfer the parchment paper and dough into it.
Bake the Sourdough
- Bake the dough on the air fry setting at 370°F (190°C) for 15 minutes.
- Flip the dough over (using tongs will help) and bake it again at 370°F (190°C) for another 15 minutes, or until the bread is golden brown and sounds hollow when tapped on.
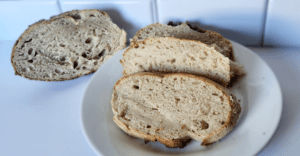
- Remove the sourdough from the air fryer and let it rest on a cooling rack for at least 1 hour before cutting into it
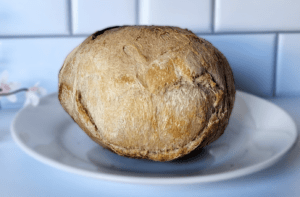
- Note, not all air fryers bake the same, so stay open to adjusting the baking times and/or temperatures. You'll know what works best with your particular air fryer once you've tried this recipe the first time.
Notes
- Use a well-fed and active sourdough starter for the best rise and flavor. If your starter is not active, and/or your dough doesn’t complete its first fermentation, the bread will not fully bake in the middle regardless of the amount of time you bake it or the temperature you use (this is called under proofed).
- Likewise, if you leave the dough out for too long after it has increased in size during the first fermentation, you risk over proofing, and your bread will likely come out dense.
- During the first fermentation, keep the dough in a warm, draft-free place.
- After baking, allow the bread to cool for at least 1 hour before slicing to preserve its texture and prevent it from becoming gummy.
- This recipe works perfectly in my 4 quart air fryer, however most air fryers can accommodate small to medium-sized loaves.
- See post for FAQs, troubleshooting, and more details.