If you love homebrewed kombucha and want to give it a nice twist, you’re going to love making hard alcoholic kombucha at home! It’s the perfect blend of kombucha’s benefits with a little extra kick. In this post, I’ll walk you through the step-by-step process to create your own hard alcoholic kombucha, so you can enjoy a refreshing and fizzy drink that’s completely made by you.
Disclaimer
This recipe is intended for individuals of legal drinking age. Please enjoy responsibly. Consult with a healthcare professional if you have any concerns about consuming alcohol or fermented beverages.
Note, I am not a professional brewer; hard kombucha is just a hobby of mine.
What is Hard Alcoholic Kombucha?
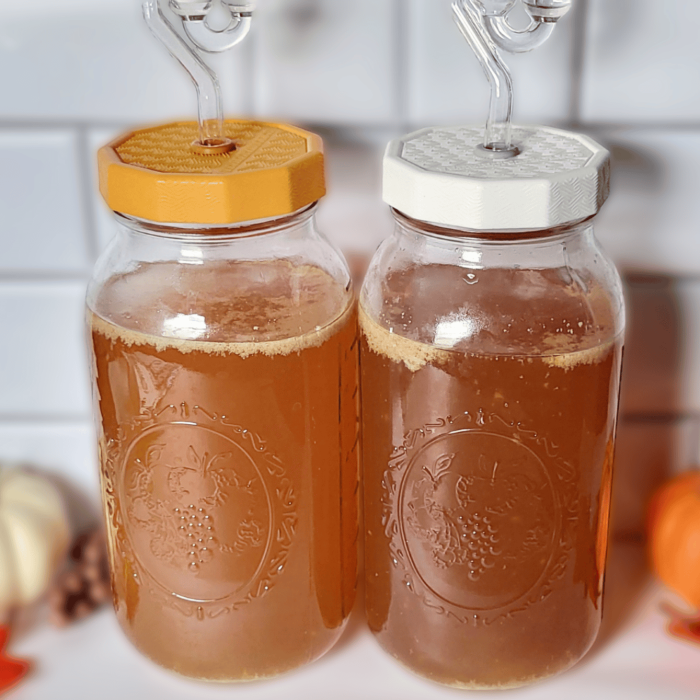
Hard alcoholic kombucha is a fermented tea that is brewed to contain a higher alcohol content than regular kombucha. See, regular kombucha can sometimes form a very small amount of alcohol due to the natural fermentation process it goes through, but that doesn’t always happen.
Hard kombucha, however, goes through an additional fermentation process to increase its alcohol content. When the process is done, it becomes a light alcoholic drink similar to beer or hard cider.
What Does Hard Kombucha with Alcohol Taste Like?
Hard kombucha has a tangy, slightly sweet flavor with a bit of fizz from the fermentation process. It tastes similar to regular kombucha, but with a slight kick of alcohol. The actual flavor depends on the type of tea you initially used during the first ferment, the type of yeast added during the second fermentation, and how long you let it ferment. It’s like a cross between kombucha and a light beer or champagne.
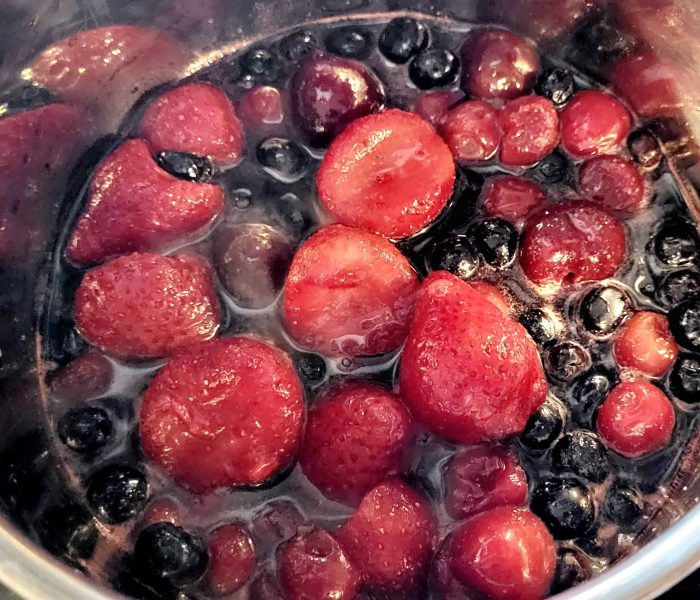
You can get even more creative with the flavors during a quick third fermentation, where you add whatever flavors you like and bottle it up. Whether you go for fruity, floral, spicy, or earthy flavors, it’s a super versatile drink that you can completely customize to make it your own.
What is the Alcohol Content in Hard Kombucha?
The alcohol content in hard kombucha is usually between 3% and 7%. Several factors influence the ABV (alcohol by volume) like the type of yeast you use, how much sugar you add, and the fermentation time.
Most store-bought hard kombuchas are around 4% to 6%, which is similar to beer. When you make it at home, the alcohol levels can vary a bit, especially with the different factors mentioned above.
How to Make Hard Kombucha at Home
Making hard alcoholic kombucha at home involves a few simple steps, a bit of time, and some patience while you wait! First, you’ll need to brew a 1 gallon batch of kombucha by putting it through its initial fermentation. If you’re new to brewing kombucha, head on over to my post on how to make kombucha, and follow only the first fermentation instructions.
The equipment you’ll need is minimal: either a gallon glass jug or two half gallon jugs, plus airlock lids. The airlock lids are designed to keep oxygen out of the brewing vessels while letting CO2 escape. You can easily find the lids online or at your local homebrew store. You will also need cane sugar and either champagne yeast or wine yeast.
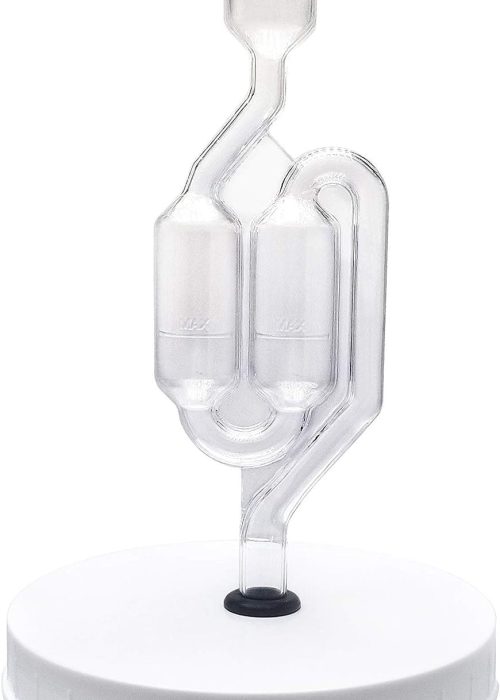
Supplies:
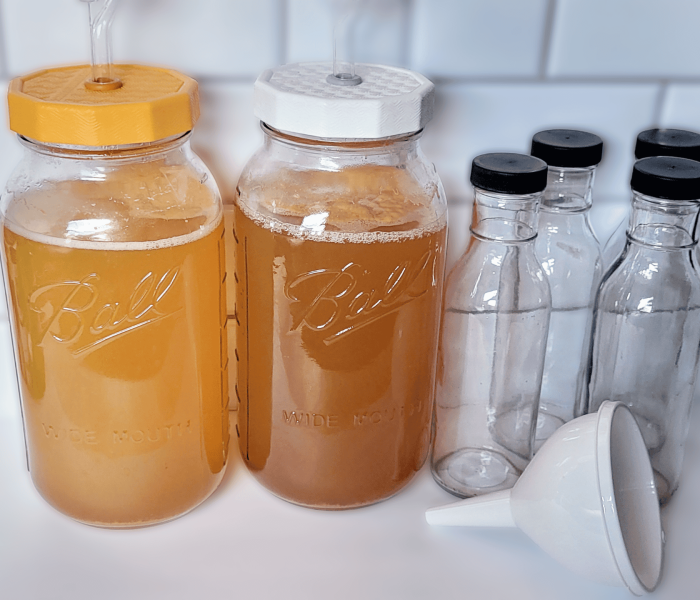
- Gallon glass jug (carboy, mason jar, or 2 half gallon jars)
- Air Lock(s) that fit your jars
- Long spoon
- Separate glass jar or bottles (to transfer finished hard kombucha into)
Ingredients:
- 1 gallon plain kombucha tea (from a first ferment only)
- 1 cup filtered water
- 1 cup cane sugar (reserve 1 tablespoon for activating the yeast)
- 1 tsp champagne yeast or wine yeast (I prefer champagne yeast: Lalvin EC-1118)
Optional Supplies and Ingredients For Flavoring and Bottling, and to Create Carbonation:
- 16 oz bottles (6-7), or 12 oz bottles (7-8) – make sure they’re carbonation safe bottles
- Measuring cup with spout, or funnel
- Fresh fruit (pureed, mashed, diced, or whole), or fruit juice
- Herbs and spices of choice (optional)
Organic cane sugar (only if you don’t want to use fruit/fruit juice, or if you’re using fruit with low sugar content like just about any berry, cranberries, rhubarb, lemon, or lime)
Step 1:
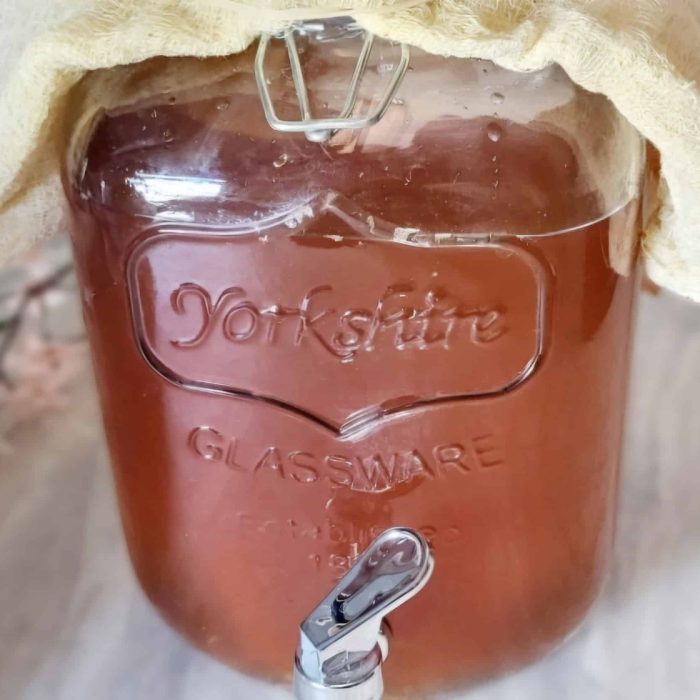
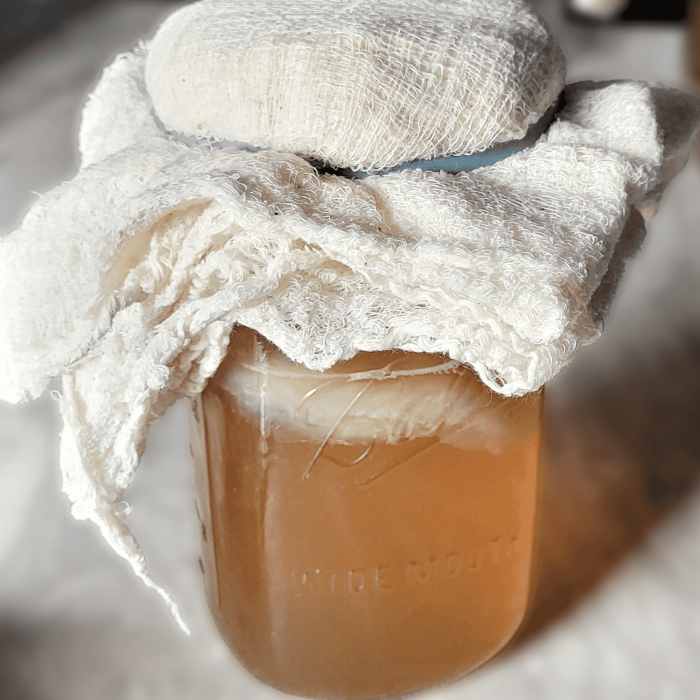
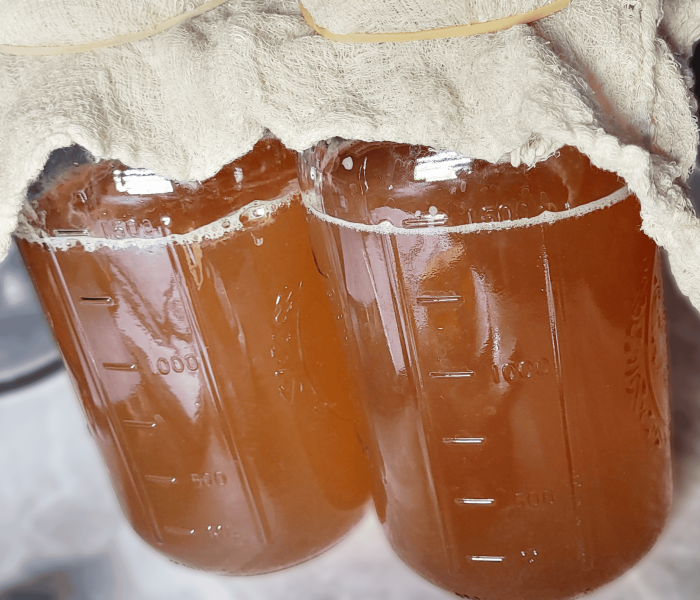
If your initial batch of plain kombucha still has the SCOBY in it, remove it along with 2 cups of the kombucha tea, and place it in a glass jar. Cover the top with a breathable cloth, like a cheesecloth or thin tea towel, and secure it with a rubber band. Store it in a cool and dark location, like a pantry or cabinet. This is what you’ll use to brew a future batch of regular kombucha.
Step 2:
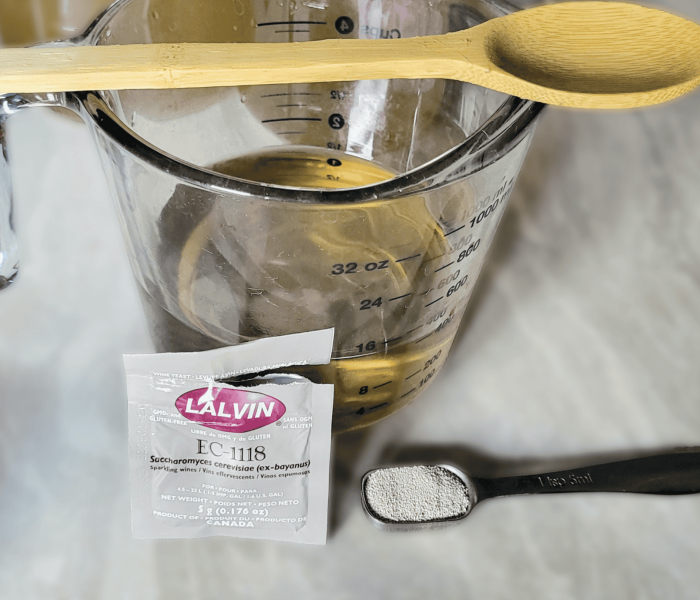
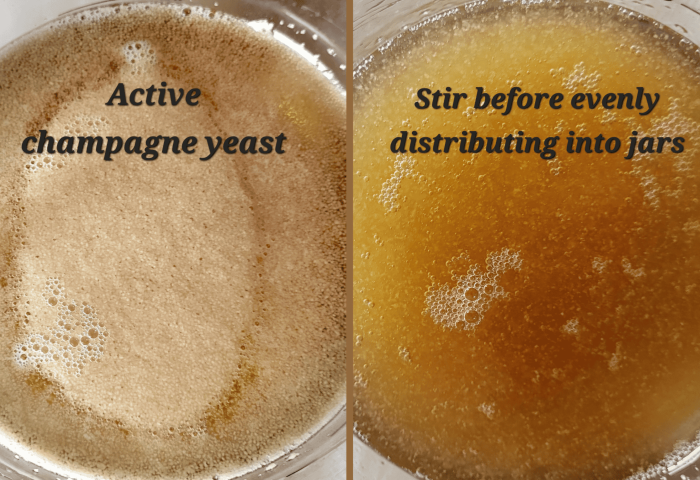
Warm 1 cup of water and dissolve 1 tablespoon of the sugar into it. Let the water cool to just slightly warmer than room temperature, then stir in 1 teaspoon of yeast. Let it sit for approximately 30 minutes to activate (it’s active when it’s foamy with a few bubbles). If you’re curious as to why we only add 1 tablespoon of sugar to this mix, see Q&A section below.
Step 3:
While you wait for the yeast to activate, pour the rest of the sugar into the kombucha tea. Stir for a minute or two to dissolve the sugar.
Step 4:
Pour the kombucha into your gallon glass jug, then mix in the yeast slurry (if you are using two half gallon jars, give the slurry a quick stir, then pour half of it into each jar).
Step 5:
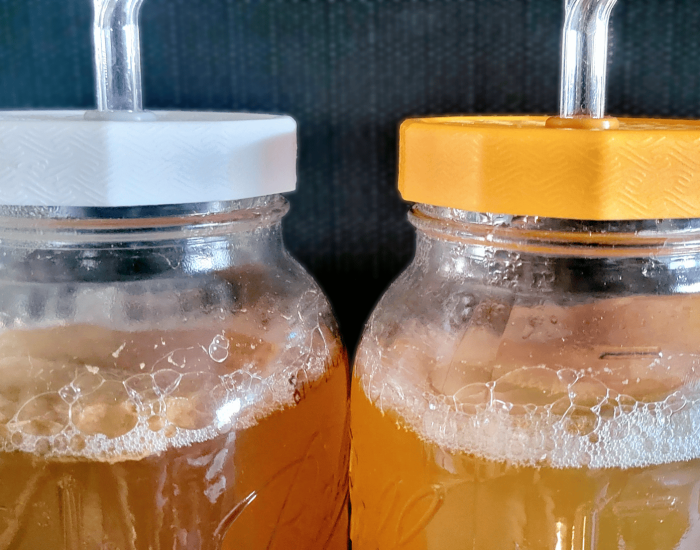
Follow the instructions for your specific airlocks, then close the lids on the jars. Leave them out to ferment in a cool location away from direct sunlight. After a few hours to a couple of days you should start seeing bubbles forming inside the jars and in your airlocks. This is where the magic happens—the yeast starts consuming the sugars and producing alcohol.
Step 6:
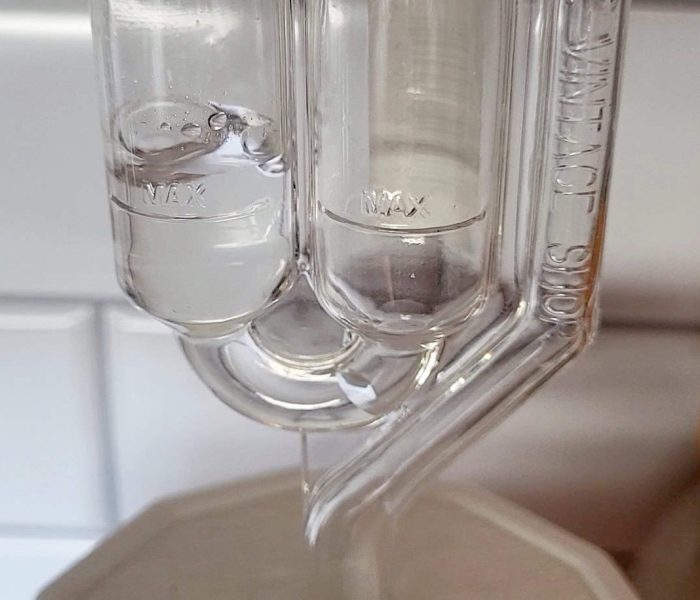
Let them ferment for about 7-14 days, or until the activity in the airlock slows down. The photo below demonstrates what an S-Airlock looks like during active fermentation (the water isn’t level and you can see air bubbles forcing their way out).
The total fermentation time mainly depends on the temperature in your home. The cooler it is, the slower it ferments; the warmer it is, the faster it ferments.
Step 7:
When you no longer see bubbles or pressure in the airlock, remove the lid and taste your hard alcoholic kombucha. It should taste like regular kombucha, but on the drier side and with a slight champagne flavor.
Step 8:
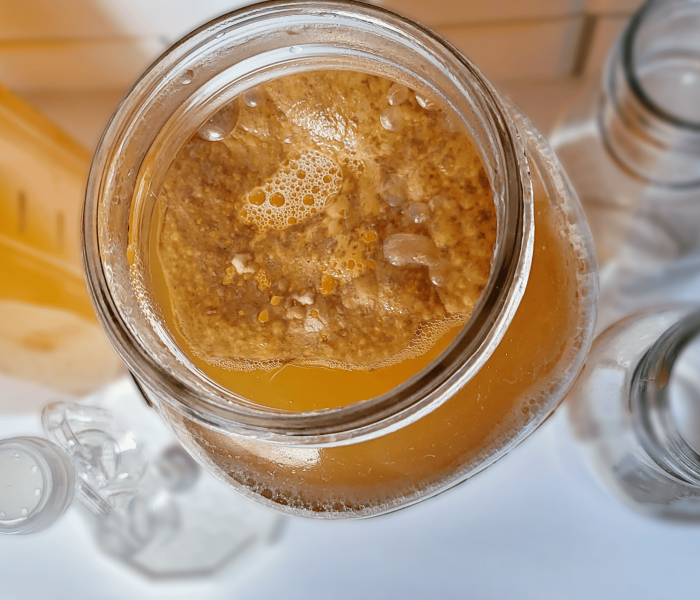
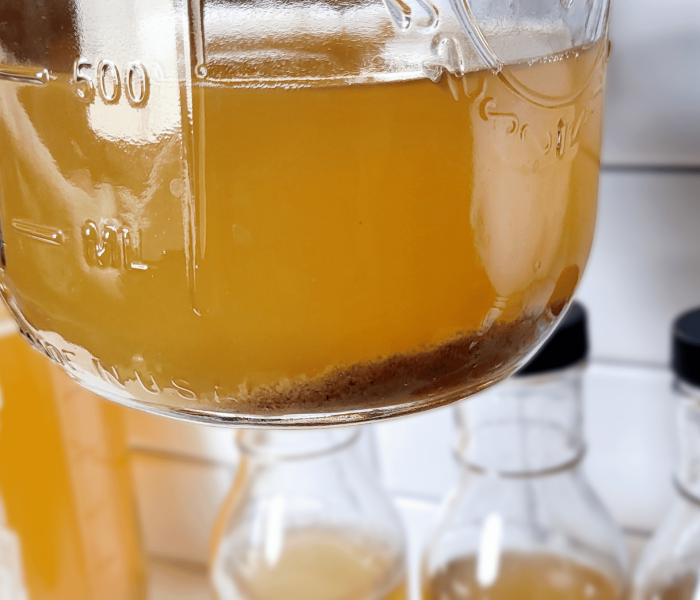
Whether you choose to stop here, or move on to adding flavors and carbonation, you’ll need to first remove any yeast build-up or pellicles that may have formed on the surface of your jars, but do not mix the hard kombucha at this point.
Step 9:
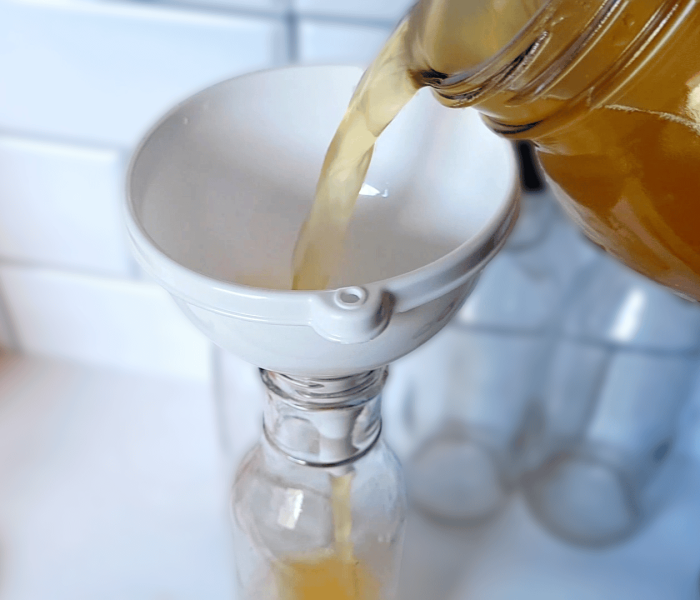
Transfer your finished kombucha into another jar or smaller bottles using a funnel. Do this carefully so you don’t include the yeast sediment at the bottom of your jar(s). If you don’t separate your finished hard kombucha from the yeast, it may develop an off-putting taste.
Step 10:
Once transferred, secure the bottles with regular lids and store them in the refrigerator to stop them from fermenting longer.
Optional Final Fermentation - Flavoring and Bottling:
Step 1:
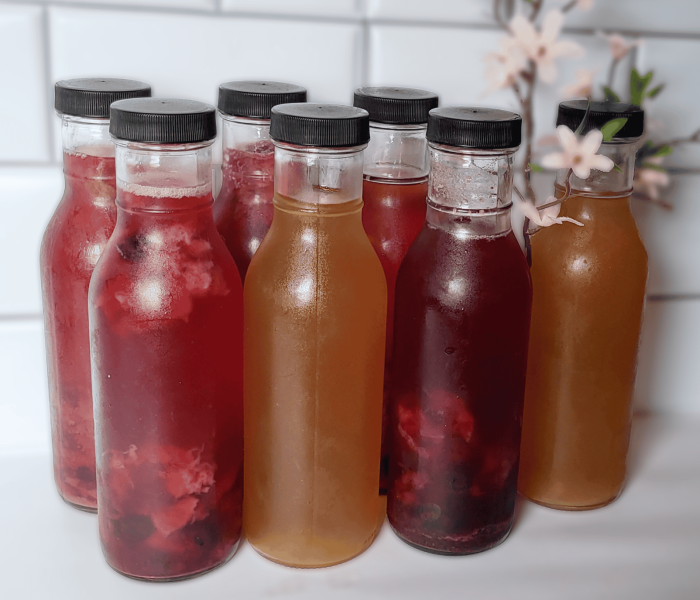
If using 12 oz bottles, add 1/4 cup of fruit juice, or pureed or fresh fruit, into each of your bottles (using a funnel will help). If using 16 oz bottles, add 1/3 cup. If you are not using fruit or juice, or are using fruit with low sugar content, add 1 teaspoon of sugar to each 12 oz bottle, or 1.5 teaspoons to each 16 oz bottle.
Step 2:
Top each bottle off with your hard alcoholic kombucha, leaving about 1 inch of headspace at the top of the bottles. Place all of the lids on tightly, and then invert them gently a few times to incorporate the fruit/sugars.
Step 3:
Leave the bottles out on your counter or pantry, away from direct sunlight, for 2-4 days. If it’s pretty warm in your house, check them after 1 day. At the 1-2 day mark, open a bottle to check for carbonation. If the carbonation is to your liking, refrigerate all of the bottles to stop the fermentation and carbonation process. If you want more carbonation, leave them out for another 1-2 days, then check again.
Once your hard alcoholic kombucha has reached the level of carbonation that you like, transfer the bottles to the refrigerator to stop further fermentation.
Step 4:
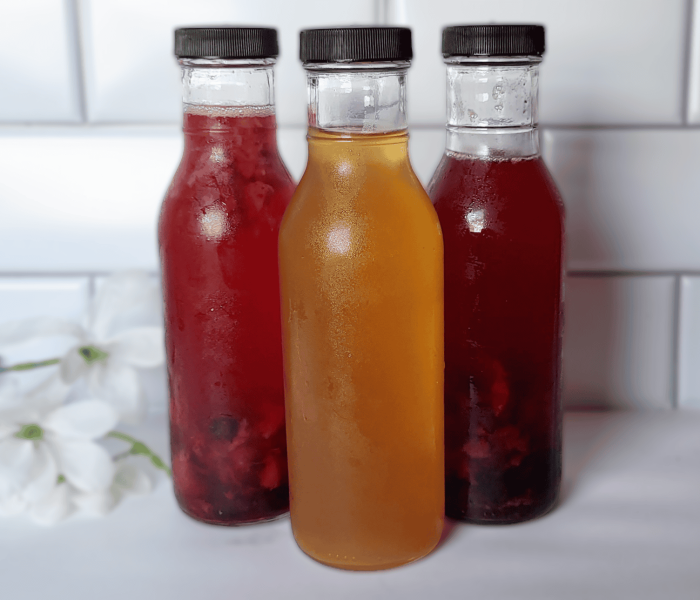
Strain the fruit pulp before enjoying (optional, some people like the pulp). You now know how to make hard alcoholic kombucha, and can share the recipe with friends and family. Cheers!
Creative Hard Alcoholic Kombucha Flavor Ideas
Feel free to mix and match these ingredients to create your own signature hard alcoholic kombucha flavors!
Fruity:
Vanilla Berry: 1/4 cup crushed blackberries, raspberries, or blueberries, 1 tsp sugar, 1/4 tsp vanilla extract
Grape: 1/4 cup purple or white grape juice
Peach: 1/4 cup peach juice, or freshly crushed peaches
Pineapple: 1/4 cup pineapple juice, or freshly crushed pineapple
Cherry: 1/4 cup cherry juice, or freshly crushed or halved cherries (pitted)
Orange: 1/4 cup orange juice (freshly squeezed or bottled)
Orange Cream: 1/4 cup orange juice (freshly squeezed or bottled), 1/4 tsp vanilla extract
Warm and Cozy:
Wedding Cake: 1.5 tsp brown sugar, 1/4 tsp almond extract
Cream Soda: 1.5 tsp brown sugar, 1/4 tsp vanilla extract
Apple Spice: 1/4 cup apple juice or minced apple, small slice of ginger, 1/8 tsp ground cinnamon, 1/8 tsp allspice
Pumpkin Pie: 1 tbsp pumpkin puree, 1.5 tsp brown sugar, 1/4 tsp pumpkin pie spice
Additional Add-ins for Spicy, Herbal, and Floral Kicks:
Spicy: ginger, turmeric, chili peppers, cayenne pepper, chili flakes, fresh jalapeños
Herbal: basil, mint, rosemary, lemon balm, lemongrass, sage
Floral: lavender, hibiscus, chamomile, rose petals, hibiscus, or elderflower
Hard Alcoholic Kombucha FAQs
Hard kombucha might have some probiotic benefits, but it’s still an alcoholic drink, so it’s best to enjoy it in moderation.
Similar to beer or hard cider, the alcohol content in hard kombucha is usually between 3% and 7%, depending on the type of yeast you use, how much sugar you add, and how long it ferments.
You should only use 1 tablespoon of sugar in 1 cup of water when activating the yeast because yeast doesn't need a large amount of sugar to begin fermentation. Too much sugar can actually overwhelm or stress the yeast, and potentially slow it down or disrupt the fermentation process.
Yes, you will likely see a pellicle or yeast build-up on the surface of your jars a few days after adding the yeast. This is normal with kombucha (but not so much with homebrewed wine). Once fermentation is complete, you can either throw them away or compost them.
Hard kombucha ferments best between the temperatures of 75-85°F (24-29°C), although this isn’t a strict rule. The warmer it is, the faster it ferments; the cooler it is, the slower it ferments. It is not recommended, however, to let it ferment in temperatures below 70°F (21°C) as it could slow to a crawl or not completely ferment. Use a heating mat around your jars if your room temperature is below 70.
Store it in the refrigerator to keep the fermentation process down and to maintain its flavor.
Final Thoughts
Making hard alcoholic kombucha at home is a fun and satisfying way to create a drink that’s completely customized to your taste. Just be sure to drink responsibly, and feel free to play around with different flavors and ingredients to find your perfect brew!
Other Recipes you Might Like

Hard Alcoholic Kombucha Recipe
Equipment
- Gallon glass jug (carboy, mason jar, or 2 half gallon jars)
- Air Lock(s) (make sure they fit your specific jars)
- Long spoon
- Separate glass jar or bottles (to transfer finished hard kombucha into)
- 16 oz bottles (6-7), or 12 oz bottles (7-8) (optional for flavoring and carbonation - make sure they're carbonation safe bottles)
- Measuring cup with spout, or funnel (optional for flavoring and bottling)
Ingredients
For the Main Ferment:
- 1 gallon plain kombucha tea (from a first ferment only)
- 1 cup filtered water
- 1 cup cane sugar (reserve 1 tablespoon for activating the yeast)
- 1 tsp champagne yeast or wine yeast (I prefer champagne yeast: Lalvin EC-1118)
Optional Ingredients for Flavoring and Bottling, and to Create Carbonation:
- Fruit juice or fresh fruit (pureed, mashed, diced, or whole)
- Herbs and spices of choice (optional)
- Organic cane sugar (only if you don’t want to use fruit/fruit juice, or if you’re using fruit with low sugar content like just about any berry, cranberries, rhubarb, lemon, or lime)
Instructions
Main Ferment:
- If your initial batch of plain kombucha still has the SCOBY in it, remove it along with 2 cups of the kombucha tea, and place it in a glass jar. Cover the top with a breathable cloth, like a cheesecloth or thin tea towel, and secure it with a rubber band. Store it in a cool and dark location, like a pantry or cabinet. This is what you'll use to brew a future batch of regular kombucha.
- Warm 1 cup of water and dissolve 1 tablespoon of the sugar into it. Let the water cool to just slightly warmer than room temperature, then stir in 1 teaspoon of yeast. Let it sit for approximately 30 minutes to activate (it's active when it's foamy with a few bubbles).
- While you wait for the yeast to activate, pour the rest of the sugar into the kombucha tea. Stir for a minute or two to dissolve the sugar.
- Pour the kombucha into your gallon glass jug, then mix in the yeast slurry (if you are using two half gallon jars, give the slurry a quick stir, then pour half of it into each jar).
- Follow the instructions for your specific airlocks, then close the lids on the jars. Leave them out to ferment in a cool location away from direct sunlight. After a few hours to a couple of days you should start seeing bubbles forming inside the jars and in your airlocks.
- Let them ferment for about 7-14 days, or until the activity in the airlock slows down. The total fermentation time mainly depends on the temperature in your home. The cooler it is, the slower it ferments; the warmer it is, the faster it ferments.
- When you no longer see bubbles or pressure in the airlock, remove the lid and taste your hard kombucha. It should taste like regular kombucha, but on the drier side and with a slight champagne flavor.
- Whether you choose to stop here, or move on to adding flavors and carbonation, you'll need to first remove any yeast build-up or pellicles that may have formed on the surface of your jars, but do not mix the hard kombucha at this point.
- Transfer your finished kombucha into another jar or smaller bottles using a funnel. Do this carefully so you don't include the yeast sediment at the bottom of your jar(s). If you don't separate your finished hard kombucha from the yeast, it may develop an off-putting taste.
- Once transferred, secure the bottles with regular lids and store them in the refrigerator to stop them from fermenting longer.
Optional Final Fermentation - Flavoring and Bottling:
- If using 12 oz bottles, add 1/4 cup of fruit juice, or pureed or fresh fruit, into each of your bottles (using a funnel will help). If using 16 oz bottles, add 1/3 cup. If you are not using fruit or juice, or are using fruit with low sugar content, add 1 teaspoon of sugar to each 12 oz bottle, or 1.5 teaspoons to each 16 oz bottle.
- Top each bottle off with kombucha, leaving about 1 inch of headspace at the top of the bottles. Place all of the lids on tightly, and then invert them gently a few times to incorporate the fruit/sugars.
- Leave the bottles out on your counter or pantry, away from direct sunlight, for 2-4 days. If it’s pretty warm in your house, check them after 1 day. At the 1-2 day mark, open a bottle to check for carbonation. If the carbonation is to your liking, refrigerate all of the bottles to stop the fermentation and carbonation process. If you want more carbonation, leave them out for another 1-2 days, then check again. Once your hard kombucha has reached the level of carbonation that you like, transfer the bottles to the refrigerator to stop further fermentation.
- Strain the fruit pulp before enjoying (optional, some people like the pulp). You now know how to make hard alcoholic kombucha, and can share the recipe with friends and family. Cheers!
Notes
- See post for creative hard kombucha flavoring ideas.
- Similar to beer or hard cider, the alcohol content in hard kombucha is usually between 3% and 7%, depending on the type of yeast you use, how much sugar you add, and how long it ferments.
- If you're wondering why we only add 1 tablespoon of sugar to 1 cup of water for the yeast activation, it's because yeast doesn't need a large amount of sugar to begin fermentation. Too much sugar can actually overwhelm or stress the yeast, and potentially slow it down or disrupt the fermentation process.
- You will likely see a pellicle or yeast build-up on the surface of your jars a few days after adding the yeast. This is normal with kombucha (but not so much with homebrewed wine). Once fermentation is complete, you can either throw them away or compost them.
- Hard kombucha ferments best between the temperatures of 75-85°F (24-29°C), although this isn’t a strict rule. The warmer it is, the faster it ferments; the cooler it is, the slower it ferments. It is not recommended, however, to let it ferment in temperatures below 70°F (21°C) as it could slow to a crawl or not completely ferment. Use a heating mat around your jars if your room temperature is below 70.
- Store your finished hard kombucha in the refrigerator to keep the fermentation process down and to maintain its flavor.


