Transforming simple ingredients like shallots and peppers into a tangy and flavorful ferment is easier than you might think. With just a few steps, you can create a delicious and probiotic-rich addition to your meals. In this post, I will show you step-by-step how to make your own batch of lacto-fermented shallots and peppers. Enjoy!
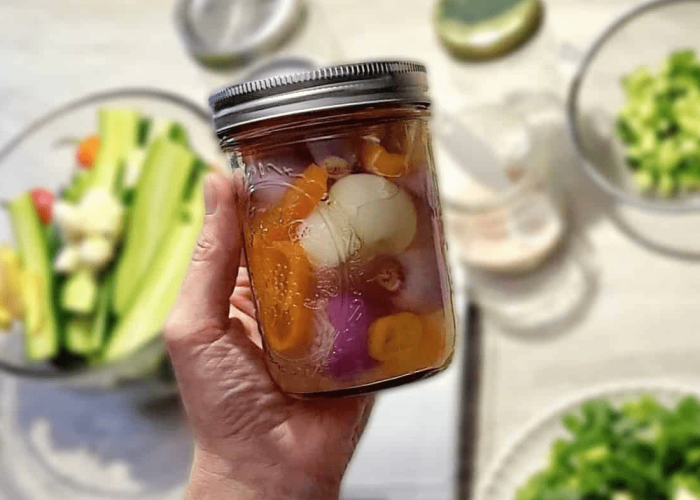
What are Lacto-Fermented Shallots and Peppers?
Lacto-fermented shallots and peppers are shallots and peppers that have been preserved in a saltwater solution for around 1 to 4 weeks. The term “lacto” comes from Lactobacillus, which is a good type of bacteria that grows abundantly in the salty brine. These live bacteria are probiotics that benefit your gut and overall well-being. They also produce lactic acid, which gives the shallots and peppers a tangy flavor and naturally preserves them.
Are Lacto-Fermented Shallots and Peppers Healthy?
Yes, when they are done fermenting, they become loaded with probiotics which are great for your gut and general well-being. When you incorporate foods and drinks that are high in probiotics into your diet, the good bacteria in your gut can rebalance, which can improve digestion, boost the immune system, and even boost mood.
How to Make Lacto-Fermented Shallots and Peppers
I have a recipe card with exact measurements at the end of the post that you can use to follow along. These instructions here are generalized just in case you’d like to make a larger batch, as my recipe card is for a smaller batch that fits in a 12 oz glass jar.
Equipment
- Kitchen scale
- Glass mason jar with lid (can use any size depending on how much you’re fermenting)
- Fermentation weight (you can purchase them online or use what you already have; ideas below under “Tips”)
Ingredients
- Shallots
- Organic peppers of choice (can be sweet or hot peppers)
- Filtered water
- Sea salt, Kosher, pickling, or Redmond Real Salt.
Instructions
- Wash your peppers, glass jar, lid, and fermentation weight.
- Slice peppers into rings. Peel shallots and either leave them whole or slice them into thick rings.
- Place your jar without the lid on the kitchen scale and select “tare” to zero out the weight (you don’t want to include the weight of the jar, only the shallots, peppers and water).
- Pack the jar with your shallots and peppers in layers. Leave about 1-1.5 inches of space at the top of the jar, since the vegetables release their own liquids during fermentation.
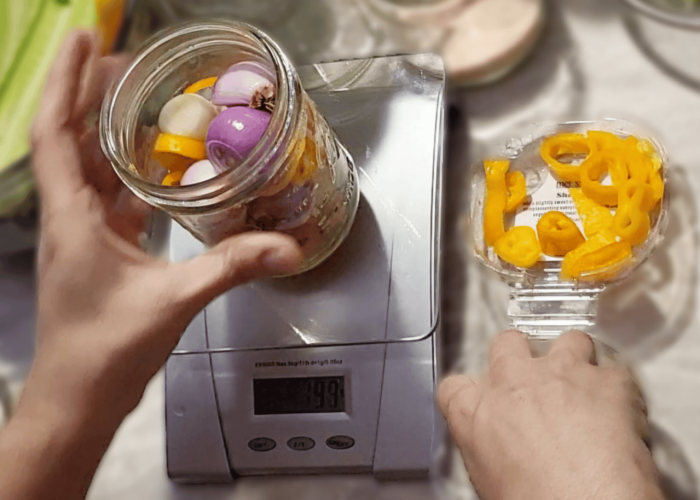
- Pour filtered water over the shallots and peppers until they are covered, still leaving about 1 inch of space at the top of the jar. Take note of the total weight of veggies + water in grams. To simplify your calculation, try rounding the total weight to the nearest hundred.
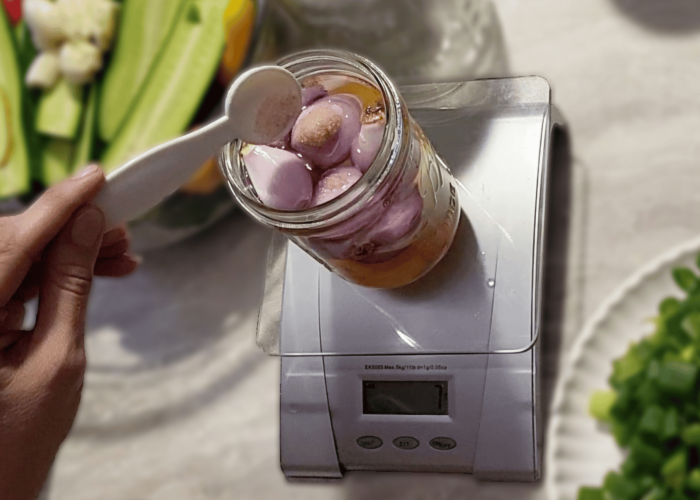
- Multiply the total weight in grams by 0.025 (2.5%). This is the amount of salt in grams that we need to add to the jar. In my recipe card below, the total weight of the shallots, peppers, and water is 400 grams, so on the calculator it looks like: 400 x 0.025 = 10 grams of salt.
- Select “tare” on the scale to zero out the weight again, and then add your salt.
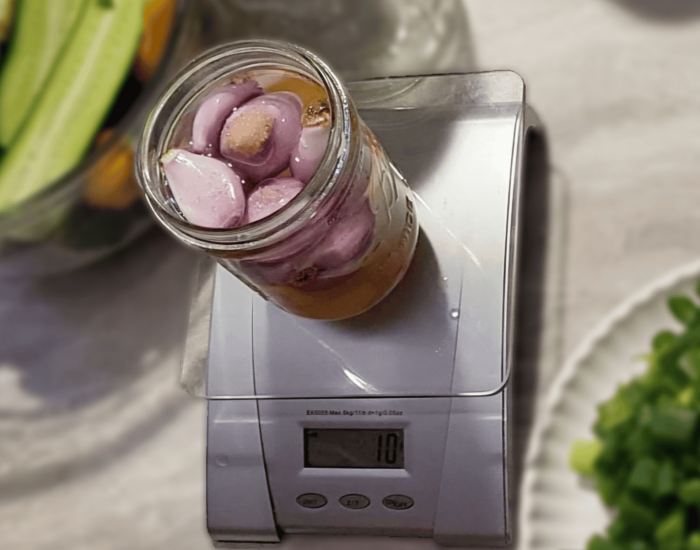
- Tighten the lid and shake for about 1 minute to dissolve the salt.
- Remove the lid and place the fermentation weight on top of the shallots and peppers, then refasten the lid.
- Place the jar at room temperature in an area away from direct sunlight. The ideal temperature should be between 60°-80°F (15°-27°C). This isn’t a strict rule, but just know the cooler the room temperature, the slower the fermentation. The warmer the room temperature, the faster it’ll go.
- After 2-3 days you will see bubbles forming throughout the jar. At this point you’ll need to open the lid of the jar once a day to release the gasses and pressure buildup. Refasten the lid when done. Shallots tend to bubble a lot longer than other fermented vegetables, so you’ll probably need to open the lid daily for the first 3 weeks or so.
- Leave the jar out to ferment for 3-4 weeks. Feel free to check the flavor at the 3 week mark to see if you like it, or if you’d rather let it go another week for a tangier flavor. The longer you let it ferment, the more beneficial bacteria it’ll contain.
- Once your shallots and peppers have reached the fermentation level you like, transfer the jar to the fridge to slow the fermentation down and store it long term.
Tips and Safety
- Use non-iodized salt, like kosher, sea, pickling, or Redmond Real Salt.
- Use a kitchen scale to weigh your ingredients, so you can add the right amount of salt. This is important for creating an environment that supports good bacteria and keeps the bad ones away.
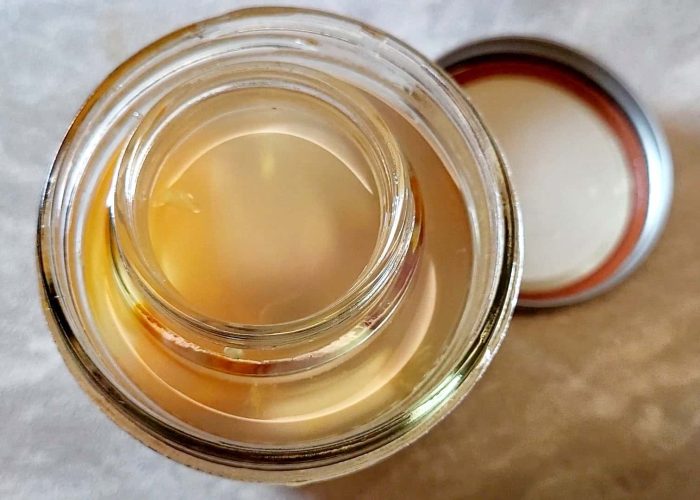
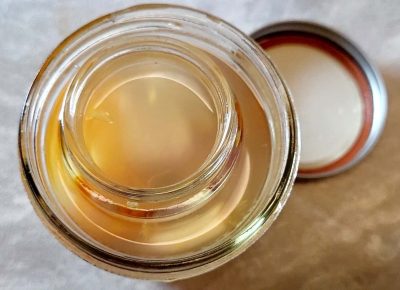
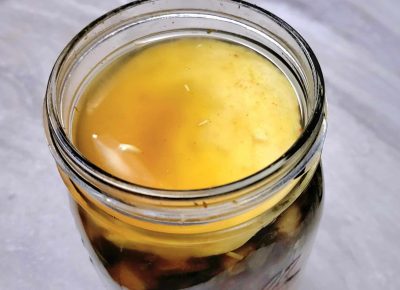
- You can purchase fermentation weights online, or use what you already have, like glass tealight candle holders (without the candles inside), smaller glass containers, a round wedge of cabbage, or an apple cut in half. In my photos below, I used a smaller glass container in the first one, and a round wedge of cabbage in the second one.
- While the ferment is bubbly, you’ll need to unscrew the lid once a day to release the natural gasses, which avoids excessive pressure buildup.
- After a few days the salt water may start to look cloudy. This is normal and usually means the fermentation process is going the way it should. The cloudiness is generally caused by lactic acid and good bacteria. It can also be due to the vegetables releasing their starches and proteins.
- If there’s any type of mold growth (fuzzy, black, white, or pink) or if the ferment smells bad or rotten, toss the batch and start over. Same goes if the vegetables become excessively slimy; throw the batch out and start over. For the best results, make sure your jars and equipment are thoroughly clean, the correct salt ratio is being used, and the vegetables are fresh and organic.
- For the best flavor, texture, and probiotic benefits, try to enjoy the lacto-fermented shallots and peppers within 3-6 months.
Final Thoughts
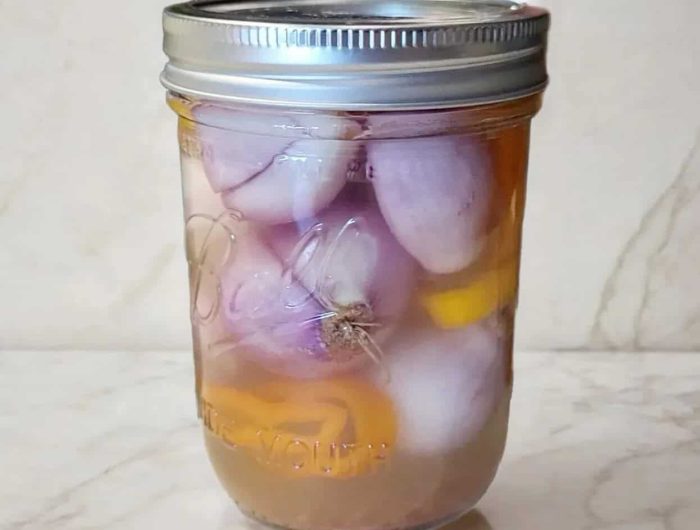
Lacto-fermented shallots and peppers are simple ingredients that become rich in probiotics once they’re done fermenting. Lacto-fermentation is a straightforward and budget-friendly way to preserve food and enhance flavor and nutrition. Plus, it supports our gut and digestive system. Hope you have fun creating something that connects you to traditional methods of food preservation. Enjoy the delicious results!
Disclaimer:
This post is for informational purposes only and is not intended as medical advice. Always consult with a healthcare professional before making any significant changes to your diet, especially if you have existing health conditions.
Other Fermented Recipes you Might Like

Easy Lacto-Fermented Shallots and Peppers Recipe
Equipment
- Kitchen scale
- 12 oz glass mason jar with lid
- Fermentation weight (purchased online or you can use what you have; see recipe notes for ideas)
Ingredients
- 160 grams shallots and peppers (your choice of sweet or hot peppers)
- 240 grams filtered water
- 10 grams non-iodized salt (sea salt, Kosher, pickling)
Instructions
- Wash your peppers, glass jar, lid, and fermentation weight.
- Slice peppers into rings. Peel shallots and either leave them whole or slice them into thick rings.
- Place jar without the lid on the kitchen scale and select "tare" to zero out the weight (you don't want to include the weight of the jar, only the shallots, peppers and water).
- Layer the shallots and peppers into the jar, and then add the filtered water.
- Select "tare" on the scale to zero out the weight again, and then add the salt.
- Tighten the lid and shake for about 1 minute to dissolve the salt.
- Remove the lid and place the fermentation weight on top of the shallots and peppers, then refasten the lid.
- Place the jar at room temperature in an area away from direct sunlight.
- After 2-3 days you will see bubbles forming throughout the jar. At this point you’ll need to open the lid of the jar once a day to release the gasses and pressure buildup. Refasten the lid when done. Shallots tend to bubble a lot longer than other fermented vegetables, so you’ll probably need to open the lid daily for the first 3 weeks or so.
- During the first week the brine will also start to turn cloudy and the veggies may start to look dull and not as vibrant. This is all a normal sign that fermentation is going the way it should.
- Leave the jar out to ferment for 3-4 weeks. Feel free to check the flavor at the 3 week mark to see if you like it, or if you’d rather let it go another week for a tangier flavor. The longer you let it ferment, the more beneficial bacteria it’ll contain.
- Once your shallots and peppers have reached the fermentation level you like, transfer the jar to the fridge to slow the fermentation down and store it long term.
Notes
- Use non-iodized salt, like kosher, sea, pickling, or Redmond Real Salt.
- Use a kitchen scale to weigh your ingredients, so you can add the right amount of salt. This is important for creating an environment that supports good bacteria and keeps the bad ones away.
- You can purchase fermentation weights online or use what you already have, like glass tealight candle holders (without the candles inside), smaller glass containers, a round wedge of cabbage, or an apple cut in half.
- Properly fermented vegetables will automatically reach a pH level of 4.0 to 3.5. In this range the vegetables are tart, safe to eat, and have a long shelf life. However, if you prefer to be precise about monitoring the pH levels, you can do so by using pH strips or a digital pH meter.
- If there’s any type of mold growth (fuzzy, black, white, or pink) or if the ferment smells bad or rotten, toss the batch and start over. Same goes if the vegetables become excessively slimy; throw the batch out and start over. For the best results, make sure your jars and equipment are thoroughly clean, the correct salt ratio is being used, and the vegetables are fresh and organic.
- For the best flavor, texture, and probiotic benefits, try to enjoy the lacto-fermented shallots and peppers within 3-6 months.


