Growing your own food at home is definitely a rewarding process, but it can get pricey – especially in the beginning of your gardening journey. In this post, I’m sharing some easy – and fun – budget friendly gardening tips to help you save money while still enjoying homegrown goodness.
How My Budget Friendly Gardening Journey Began
Since I was little, I’d often daydream about harvesting fresh produce right from my own backyard. In 2022, I decided to dive into food gardening with no prior experience.
Like many beginners, I jumped right in… headfirst… and spent a lot of money on all the things I thought I needed. Things like tools, bags of soil and compost, seeds, fertilizers, grow bags, stakes, trellises, etc. You name it – I bought it.
I was ready for some lush greens and vibrant harvests. But it didn’t take long for reality to kick in, and I hit a brick wall. Gardening in sunny Florida absolutely has its own unique challenges.
Certain plants wilted under the intense heat, some refused to thrive, and others were eaten by pests I never saw coming. It was disheartening to see my efforts (and my investment) being wiped away.
But there was some light at the end of that struggle tunnel. I realized that gardening didn’t have to be difficult or break the bank—I just needed a different approach. Gradually, I became more resourceful and found ways to reuse materials I already had.
I started repurposing food waste, composting scraps, and making my own plant supports. It wasn’t just about learning how to grow plants—it was about growing smarter, too. And that’s how my whole budget friendly gardening journey began.
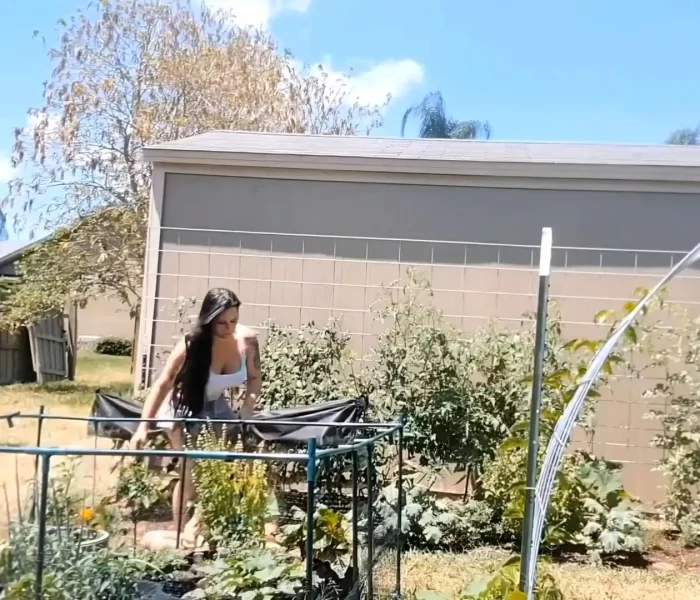
Budget Friendly Gardening Tip #1: Use Natural Resources
DIY Twine/Plant Tie Replacements
I find this to be such a fun budget friendly gardening hack. The idea is to look around and use what nature is already offering as garden solutions.
When you need twine or plant ties but don’t already have some on hand, this is the perfect opportunity to get creative. Instead of going out and buying some, take a look around your yard, or areas nearby, to see what nature already has for you.
I’m in Florida and we have many palm trees – both tall and short. Palms tend to “shed” their fronds and as this happens they end up detaching and tipping over, making it possible for you to reach them. Palm tree fronds can be stripped into thin and flexible strands that work great for tying up plants.
If you don’t have palm trees, look for vines, tall grasses, or even long, flexible stems from other plants. Those will also make great substitutes. It’s all about working with what you have.
DIY Natural Trellises or Tomato Cages
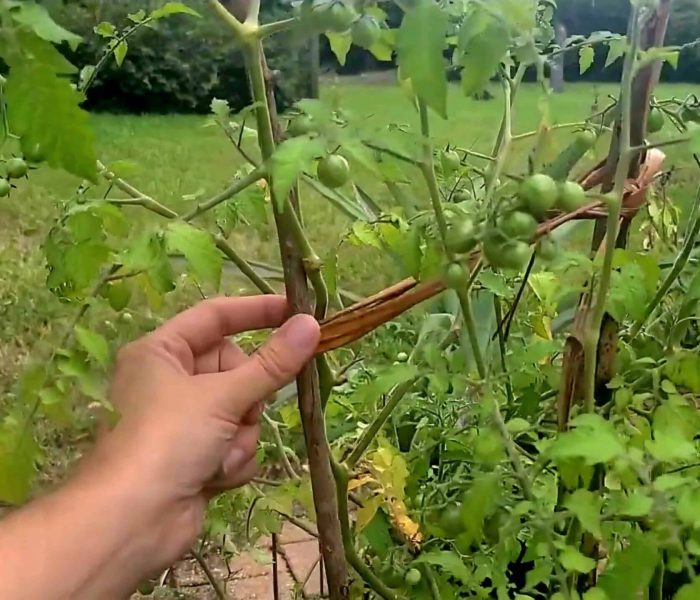
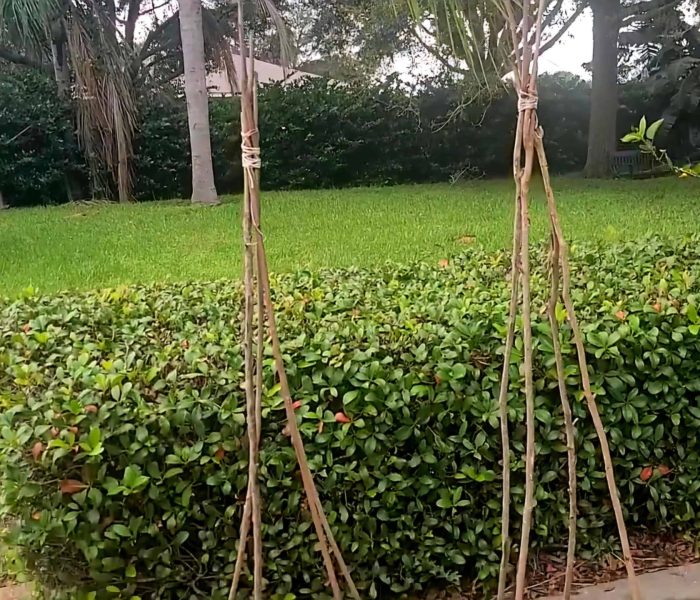
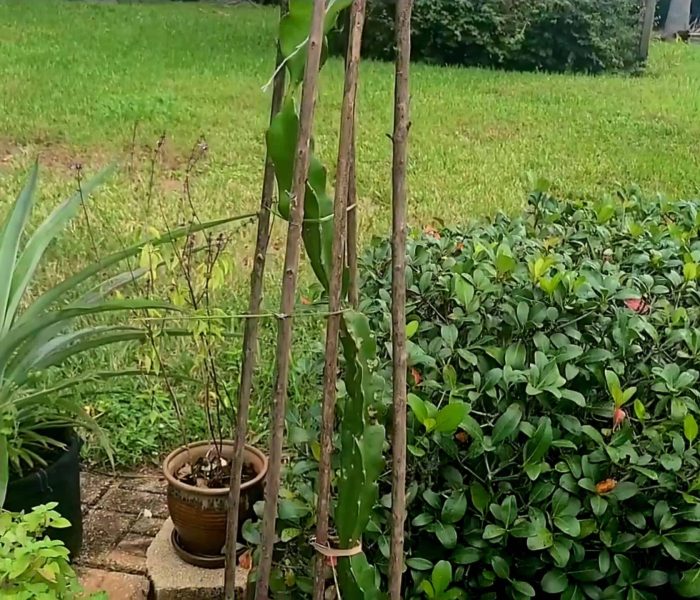
Another fun DIY garden project. I made some teepee-style trellises using dead branches from my crape myrtle trees. Since I prune the trees back every year, I usually save some branches for this very purpose.
If you aren’t regularly pruning trees, simply look around to find long, dead/dying branches. Prune them off, then try to cut them down to roughly the same size (though not super important, it’s just for aesthetics, really). Bundle them up at the top, and tie them with twine or heavy-duty vines/palm tree fronds.
The photo below shows what they look like once assembled. You can use them for your indeterminate tomato plants, poblano or bell pepper plants, or any other plant that grows tall and needs support!
DIY Natural Stakes/Supports
Next time you’re trimming trees or spot dead branches in your yard, use them as plant stakes or supports! I love this solution, and I often make it a fun activity with my daughter. We’ll go foraging for dead branches, even if it requires taking a short drive somewhere else.
Dead branches also give your garden a nice little rustic charm, and keeps things sustainable. When in use, you won’t even notice they’re there (at least I don’t). In my opinion, it’s a lot easier on the eyes than the usual neon-green ones found in the stores.
Just pick branches that are sturdy enough and roughly straight, then trim off any smaller twigs or rough edges. They’re perfect for supporting tomatoes, climbing beans, or droopy flowers. You can even use your palm tree fronds, tall grasses, or vines to tie your plants to them!
Budget Friendly Gardening Tip #2: Propagation
Propagating plants from cuttings is definitely a budget friendly gardening hack you can use to multiply your plants for free. Furthermore, homegrown plants make perfect gifts for friends, family, and teachers!
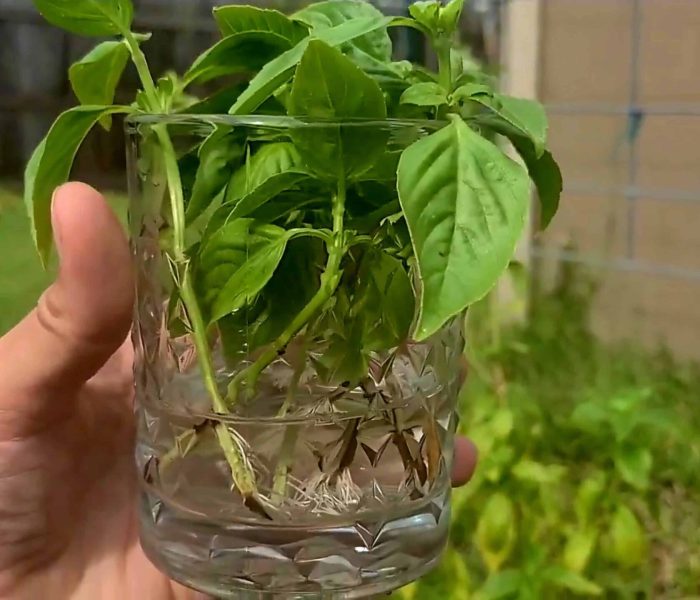
Instead of spending money on new plants, just snip a healthy stem, or even a root from one of your favorite plants and grow it into a whole new plant. You can root the stems in water or stick the cuttings straight into soil.
Just make sure to keep them out of direct sunlight until they form new roots and are sturdy enough to withstand hours of sunlight. I do this all the time with my tomato and basil plants.
Budget Friendly Gardening Tip #3: DIY Soil/Compost and Fertilizer
DIY Soil/Compost
Creating your own soil or compost is easier than you might think, and it’s a great way to keep your garden eco-friendly, while saving money.
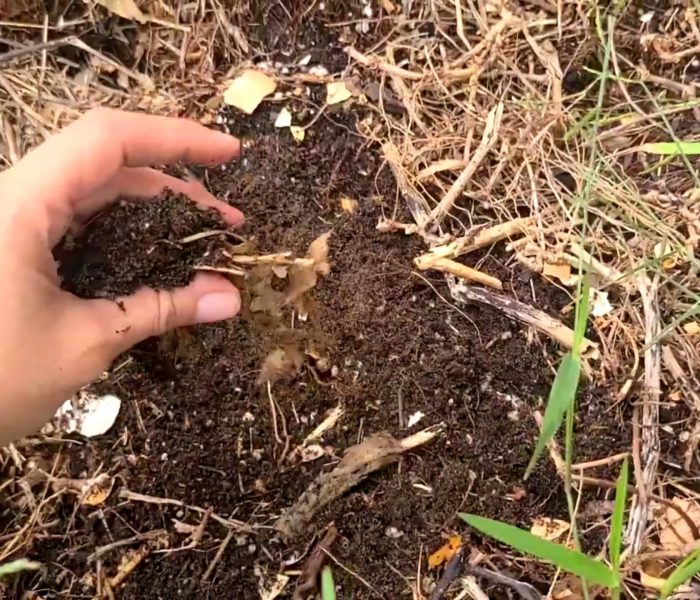
One simple method is the “chop and drop”. This is where you cut down dead plant material, leaves, weeds, or fruit/veggies you don’t plan on harvesting for whatever reason. You then bury that little stash around your existing plants. Over time, they’ll break down and provide nutrients to the soil and plants nearby.
Alternatively, you can turn kitchen scraps like vegetable peels, fruit cores, coffee grounds, and crushed eggshells into compost. Just save them in a container, and when you’re ready, add them to an outdoor pile or bin. Make sure to also add some “browns” like dead leaves/branches, or even brown packing paper, and mix it all together.
What’ll end up happening is, it will all naturally break down and turn into a nice, dark soil full of nutrients. This is my favorite type of compost to use, and my plants thrive when I use it. It does take a few months to break down, however. For me in Florida, it usually takes 3-6 months in the warmer weather, or up to 9 months if it’s during the fall and winter months.
Pro tip: have two compost piles/bins going. One for older plant material, and another for newer material. Toss your newer kitchen scraps and browns into the newer pile. Once your older pile is ready and you’ve used it in your garden, your “newer” pile will then become the old pile. Then, you simply start a brand new pile for newer kitchen scraps/browns.
DIY Plant Fertilizer
Making your own fertilizer using plant leaves and trimmings is a simple and satisfying way to give your garden a natural nutrient boost.
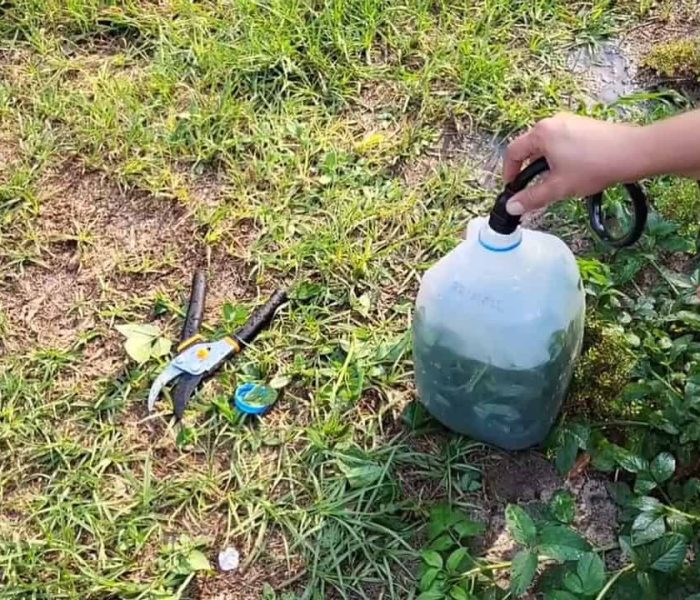
Next time you’re outside pruning your plants, save the clippings, or look for fallen leaves, soft green trimmings, or even weeds. Just make sure the weeds haven’t gone to seed. Chop them up or crush them with your hands, then pack them into a gallon container and fill it with water.
Let the mixture sit for a couple of weeks. You can stir it every few days as it brews, but that’s optional. It’ll end up transforming into a nutrient-rich “plant tea,” and after 2 weeks it’ll be ready to use.
Once it’s ready, simply strain (optional) and dilute what you need using roughly one part tea to ten parts water. Then, you simply water your plants with it. I do have to say that it stinks… like, really stinks, so there’s that. However, your plants will absolutely thank you!
Budget Friendly Gardening Tip #4: Plant Food Scraps
I find this budget friendly gardening tip super fun, especially when you involve the kids. Have you ever tossed leftover green onion roots or carrot tops in the trash? I have, plenty of times. That was before learning about composting and regrowing food from scraps.
Many kitchen scraps can grow into new plants. This not only reduces waste, but also fills your garden at little to no extra cost. Win-win.
Roots of Green Onions/Scallions and Onions
Green onions/scallions: you can easily – and quickly – regrow green onions or scallions by placing the roots in soil. Simply leave about 1 inch of the green onion stalk above the roots, then plant them root-side-down.
In just a few days, you’ll see new growth coming up from the middle. When they’re mature, you can cut them down to the base and they’ll just keep regrowing for you. I’ve had the same green onion plants for over a year, and they just keep on giving.
Onions: instead of throwing the root part away, plant it in some soil, root-side-down. In a few days, little sprouts will start to shoot up from the middle. They will look like green onions once mature, but their flavor will be stronger. It’s best to use them in pesto, soups or stir fries.

Carrot Tops
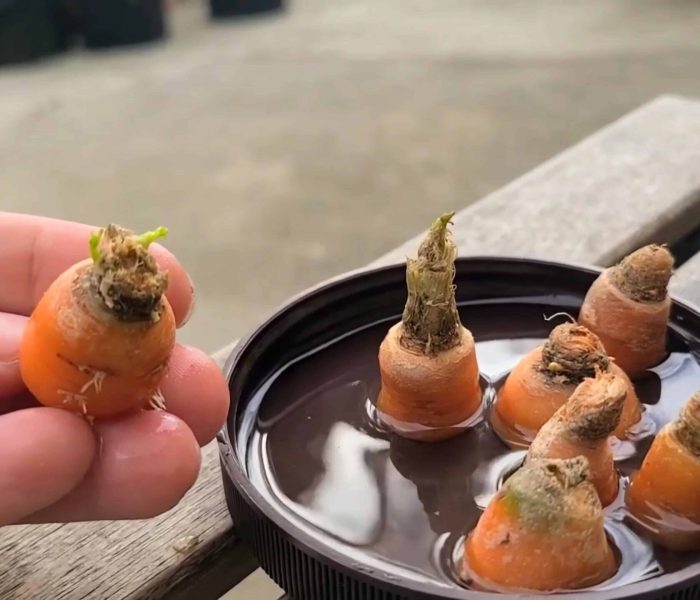
This one blew my mind when I first discovered it. Next time you’re in the kitchen chopping up carrots, save about 1/2-1 inch of the top parts of the carrots. Place them top-side-up (carrot-side-down) in a shallow dish of water. After about 4 days you’ll see little roots forming on the carrots beneath the water.
Plant the carrots root-side-down in soil, while leaving the tops above the soil. What will eventually happen is, the tops will start to grow and multiply, and you’ll have a lush patch of carrot tops that you can use in your next meals.
My favorite way to use them is by making carrot-top pesto. You simply follow the same recipe for basil pesto, but swap the basil with carrot tops. It is absolutely delicious.
If you’re wondering whether you can regrow the actual carrot part, the answer is yes. BUT, they won’t grow very big, and will likely be deformed (but still edible).
Bonus tip: carrot tops are a great food source for hamsters, rabbits, and guinea pigs. If these cute little critters are a part of your family, consider growing carrot tops just for them!

Sprouted Potatoes
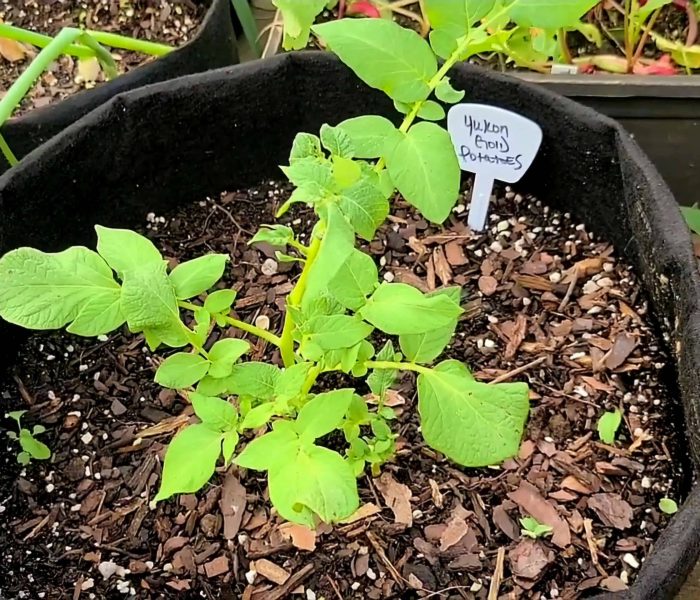
If you aren’t able to finish that whole bag of potatoes quick enough, and some of them start to sprout, don’t throw them out.
Plant those potatoes sprout-side-up (leave them whole if they’re smaller, or cut them in half or thirds if they’re larger). If you end up cutting them, be sure to let them dry for a couple of days before planting.
After a few months, you’ll have pounds of potatoes ready to enjoy. Note, potatoes grow best in cooler weather. If you live in a colder climate, plant them in early spring. If you live in a hotter climate (like here in Florida), plant them in the fall.
Celery Roots
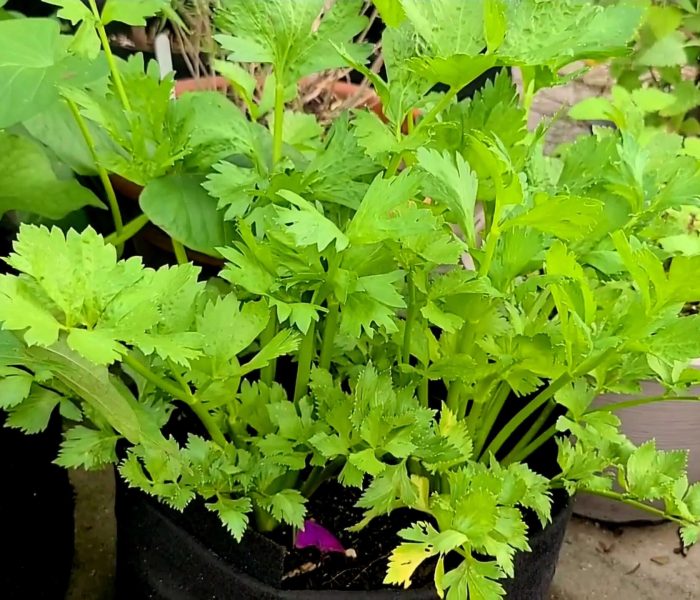
About 2 years ago, I learned that you can regrow celery from the root end we usually toss out. It’s super easy and makes for a fun little experiment. Just take the root base of a bunch of celery and plant it in soil, root-side-down.
Within a few days, you’ll see new green shoots popping up from the middle. They will grow back smaller and thinner than the original bunch you purchased, and may have a slightly different texture.
That said, it’s still a fun way to get some fresh celery leaves and small stalks for cooking or garnishing.
Pineapple Tops
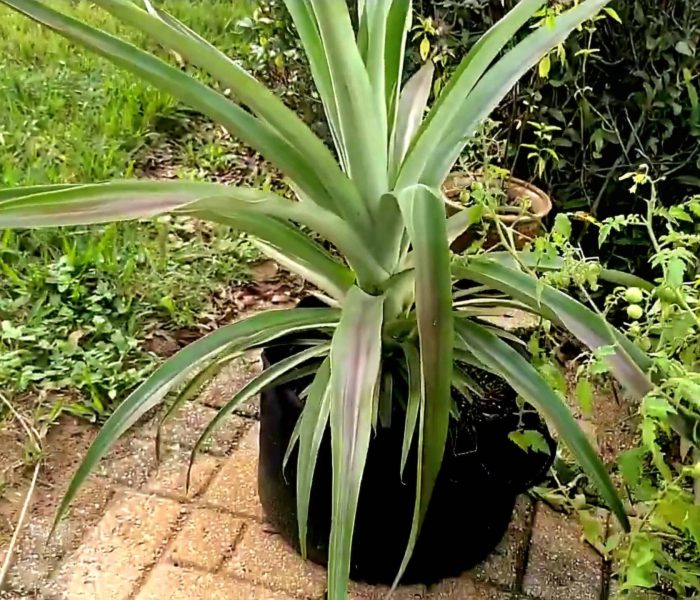
Pineapple plants thrive in warm, tropical to subtropical climates with lots of sunlight. Since I live in a subtropical climate, it just seemed like the perfect plant to add to my garden. Especially since I love pineapple. I’ve grown several pineapple plants from their tops, and it’s super easy to do.
In fact, I have a whole post about how to multiply your pineapple plants, as well as grow them from tops. Planting them is pretty straightforward. Simply twist off the top of the pineapple and peel away a few of the lower leaves to expose some of the roots.
You can leave it out to dry for a couple of days to prevent rot, but I never did and mine never rotted. Plant the root part directly into soil. Within a few weeks, the roots will strengthen and multiply, and the leaves will eventually grow longer.
After about 2-3 years, it will produce its fruit. The plant will also form pups, or suckers. These pups can be removed and planted as individual plants, which will also eventually form pups of their own. This is how you can easily grow and multiply pineapple plants from just 1 top.
Budget Friendly Gardening Tip #5: Save Seeds
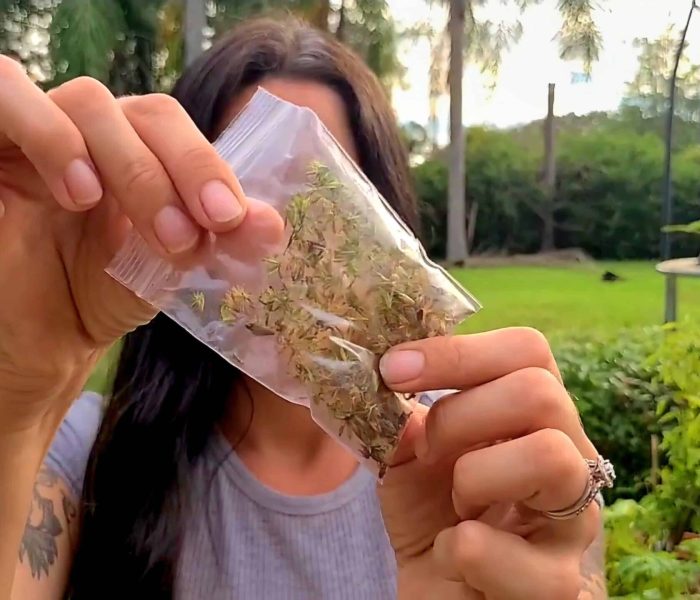
My last budget friendly gardening tip on this list is to save seeds from your own garden, as well as from store-bought produce. It’s definitely an easy and rewarding way to keep your favorite plants going year after year.
Let some fruit or flowers dry out on the plant naturally, so you can harvest the seeds. Once example would be to leave a few pods of beans on the vine until they’re completely dry. Another is to allow a tomato to over-ripen on the plant before removing it and scooping out the seeds.
You can also save seeds from certain produce you buy at the store. Some that have worked for me are dry beans, peppers, squash, and tomato seeds. Just know some of these seeds may not grow exactly like the original plants.
To store the seeds long term, make sure they’re fully dried, then place them in a plastic or paper envelope.
Final Thoughts
Incorporating these budget friendly gardening methods into your routine not only saves money, but also deepens your understanding of the plants you grow.
By making the most of natural resources, practicing propagation, creating DIY soil and fertilizers, and repurposing food scraps, you’re giving new life to what would otherwise go to waste.
Plus, saving seeds helps you preserve and continue the best of your harvest. Embracing these practices brings you one step closer to a thriving garden, at very little to no cost. Happy gardening!
Other Posts you Might Like


